

Webflow is a fantastic platform for building custom designs, and adding scroll animations is one of the best ways to bring those designs to life. Revealing text, images, and layout elements as the user scrolls naturally guides their eye and gives your site a highly polished, interactive feel.
However, motion should always serve the content. If everything on the page is flying around at once, your visitors will quickly get overwhelmed. The best approach is to use animations to support your messaging, rather than competing with it.
If you want a rapid way to animate your entire site globally without spending hours manually tweaking interaction timelines, you can do it by dropping a single snippet into your Webflow header. Here is how.
Webflow's built-in animation options
Before introducing a third-party tool, we have to talk about Webflow's native animation engine: Webflow Interactions.
Webflow Interactions are incredibly powerful and precise, allowing you to build complex, multi-step animations triggered by scrolling, clicking, or hovering. However, they are built element by element. While you can apply interactions to classes, setting up a consistent, site-wide animation system (for example, making sure every single paragraph gracefully fades up on scroll) still requires manual setup, testing, and maintenance across your project.
The Redesignee Website Animator offers a fair alternative: it is a quick, site-wide option for people who don't want to build and manage interactions manually. It allows you to automate the baseline motion of your site in seconds, leaving you free to use Webflow Interactions only for highly specific, complex hero moments if needed.
How to animate your Webflow site with the Redesignee Website Animator
The Redesignee Website Animator is a visual web tool that applies scroll effects directly to your existing website elements without requiring any code or manual interaction building. It generates a script that handles the heavy lifting.
Here is how to use it:
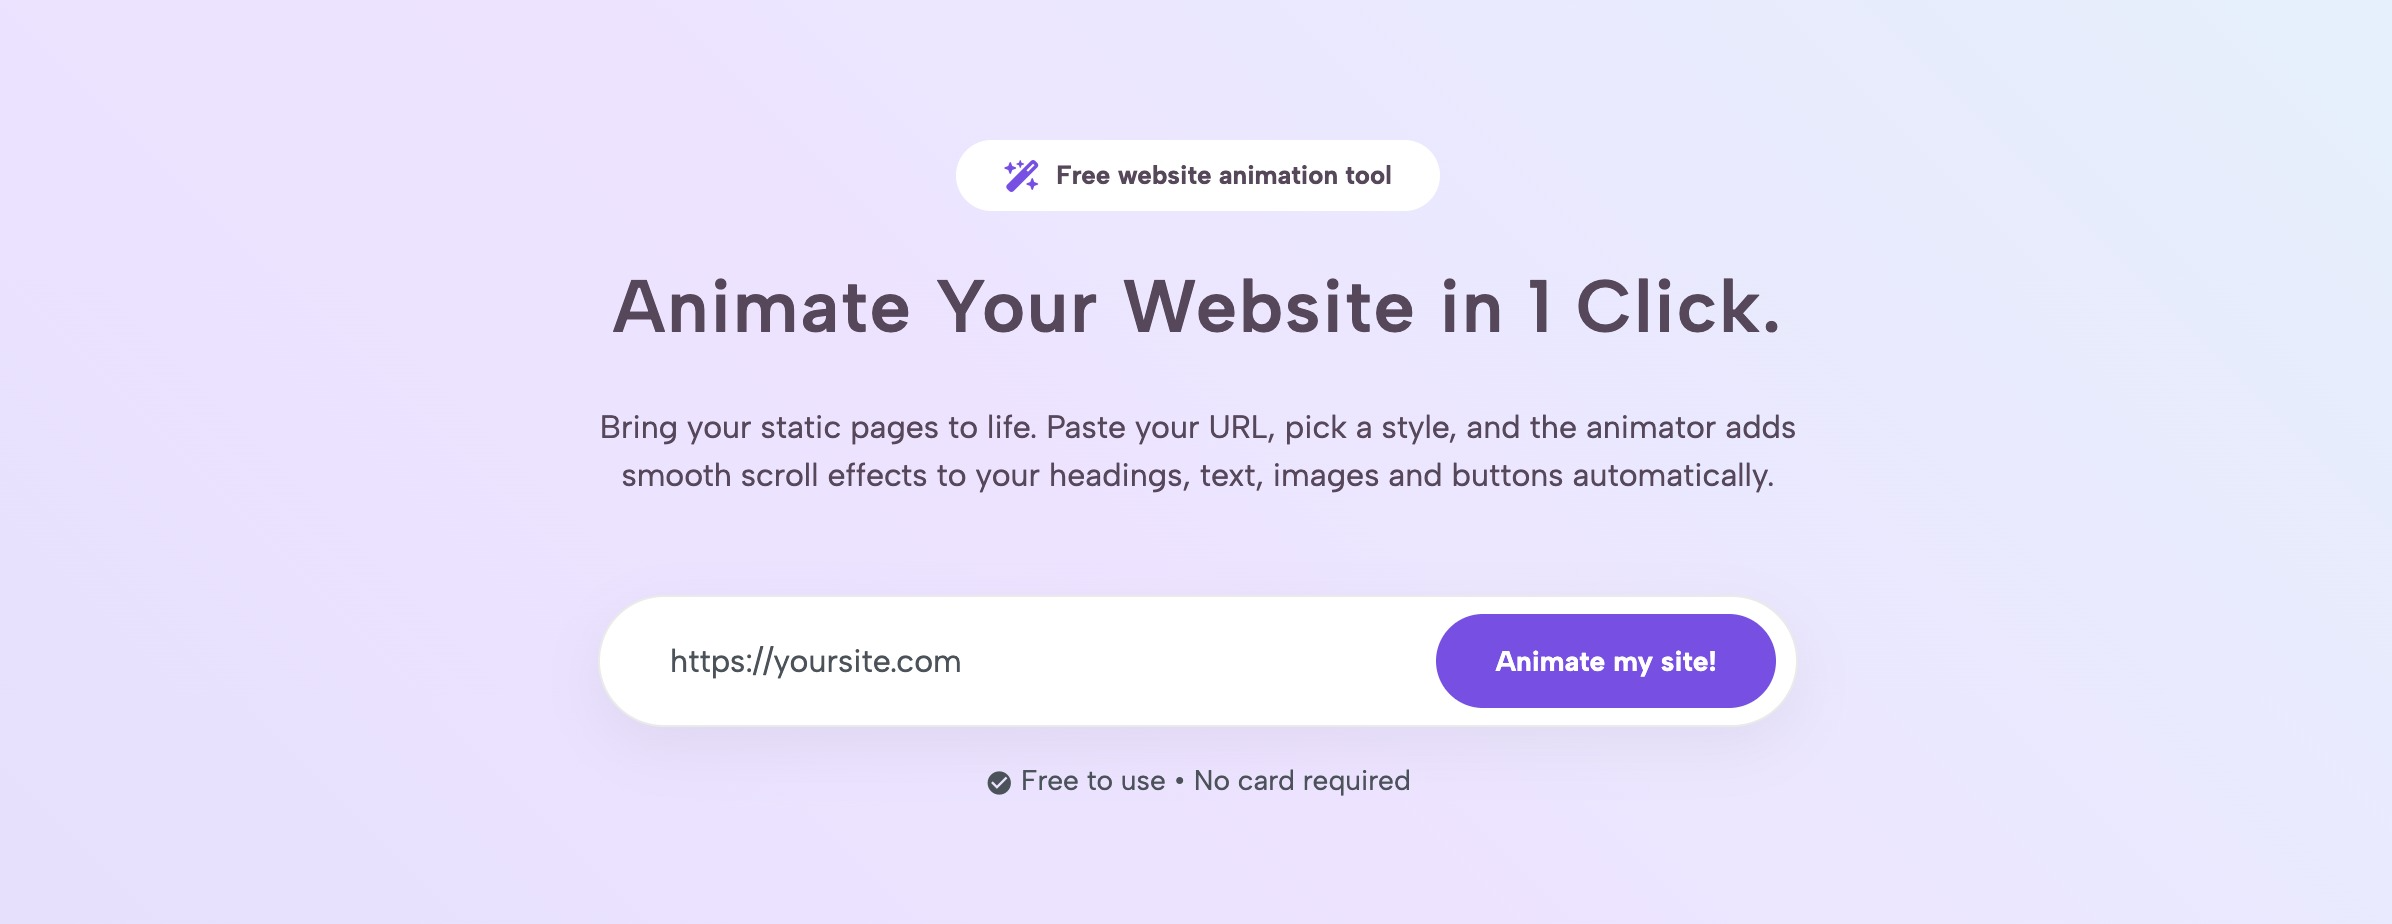
- Load your site into the animator: Go to the animator webpage, type in your live Webflow URL, and click Animate my site!. (You will need a free account, so it will prompt you to log in first if you haven't already).
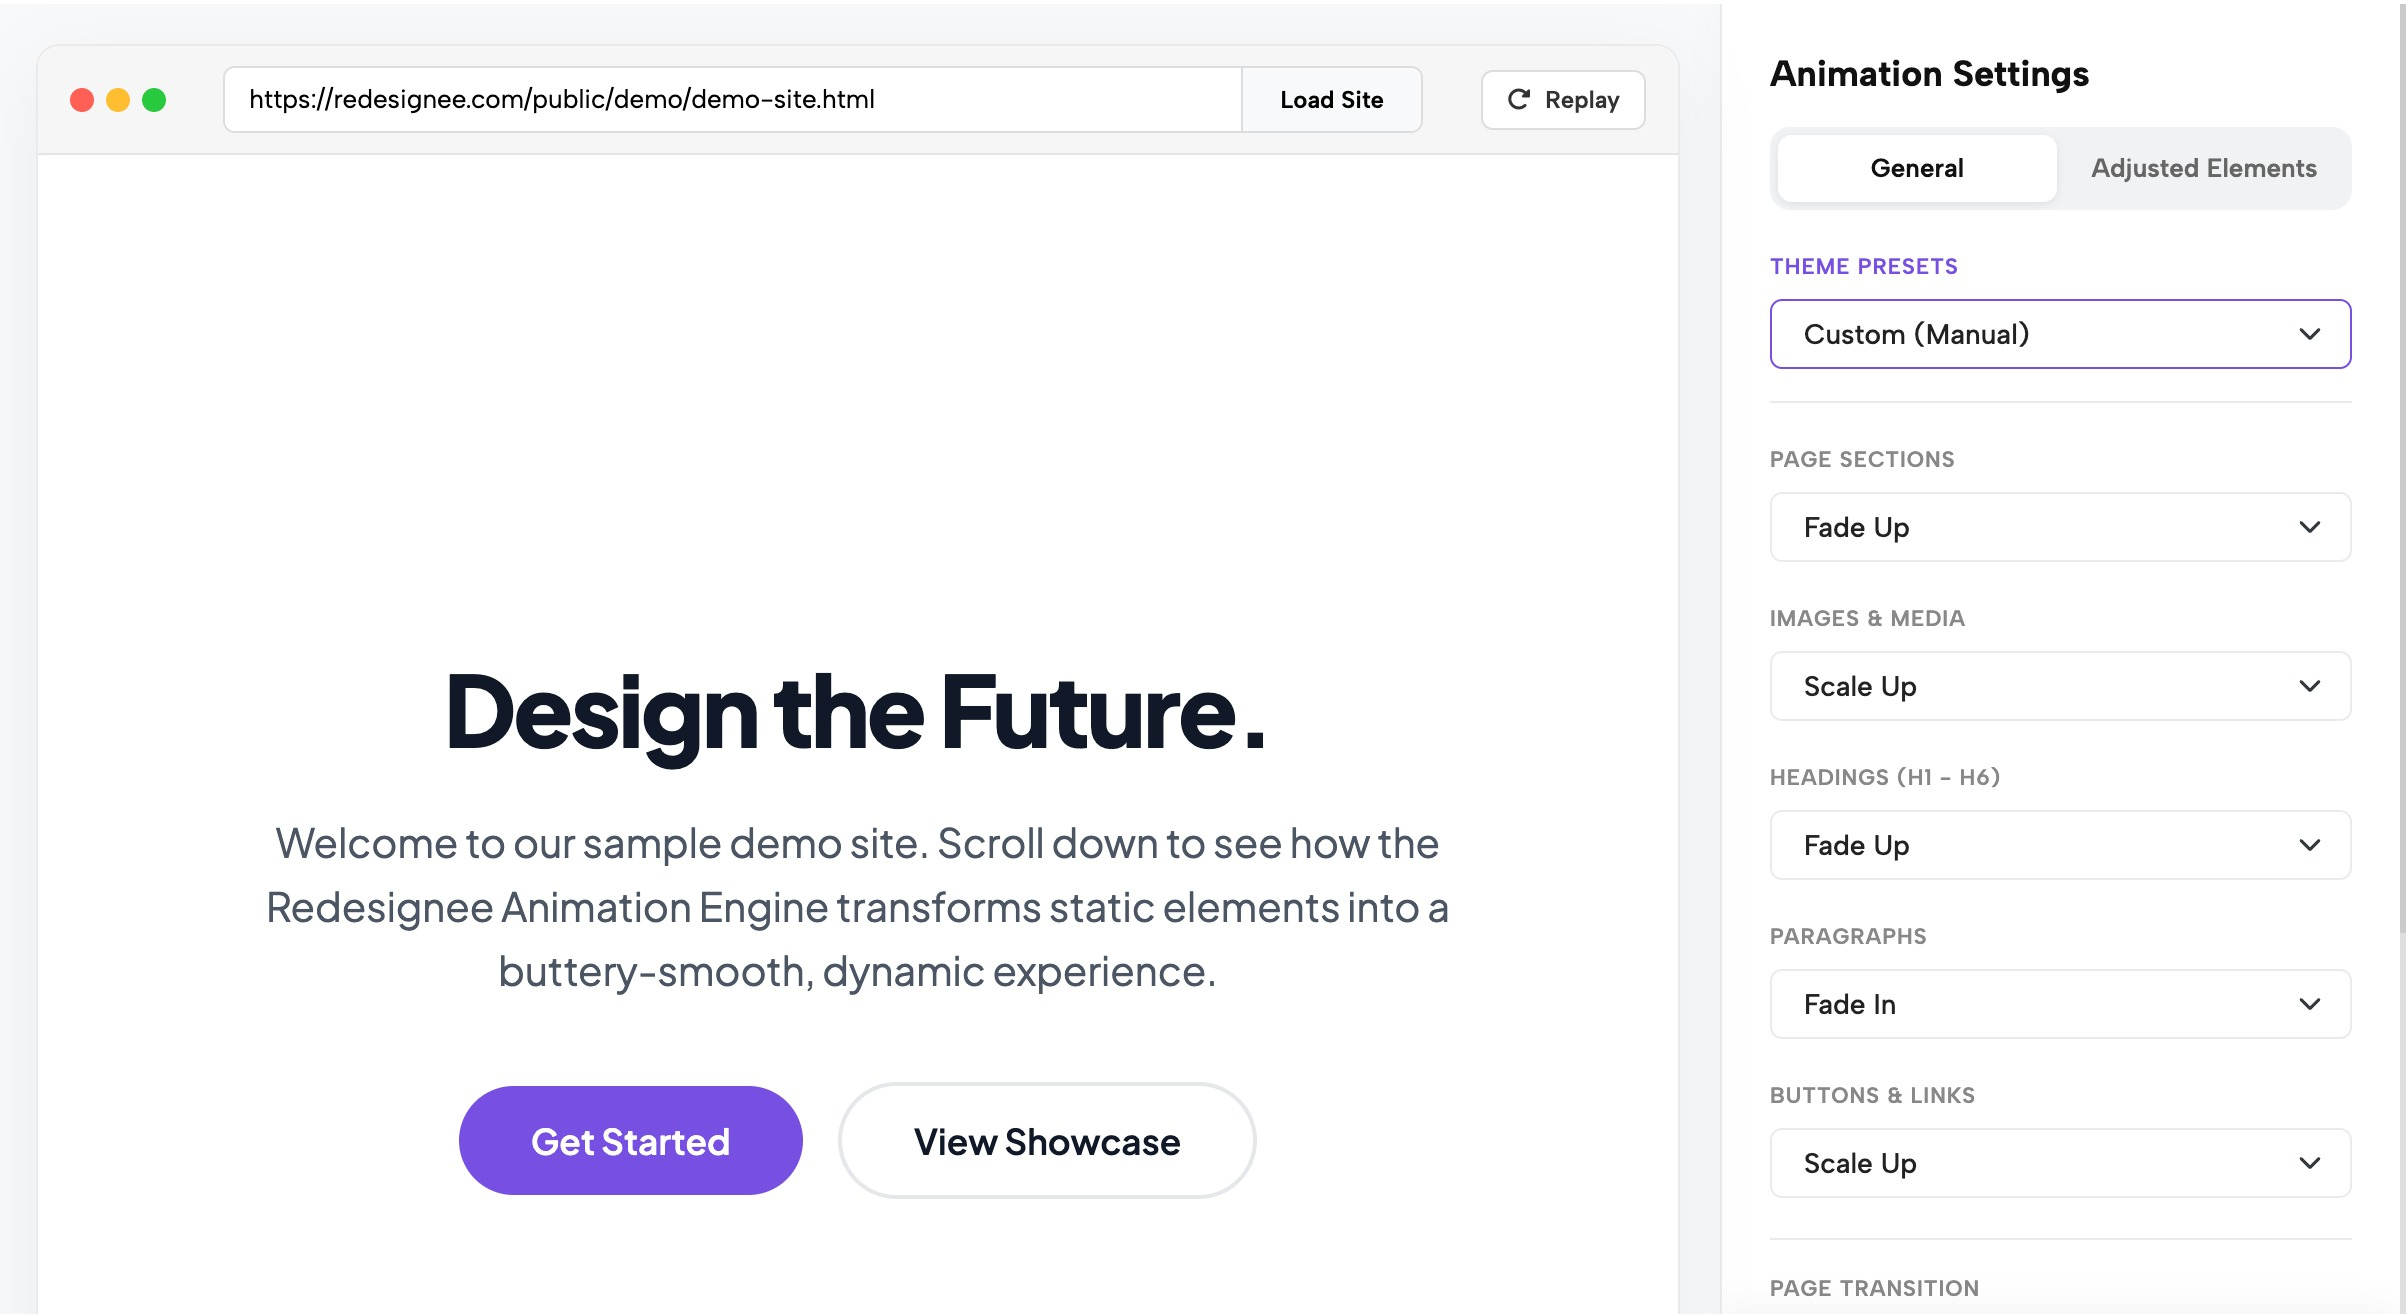
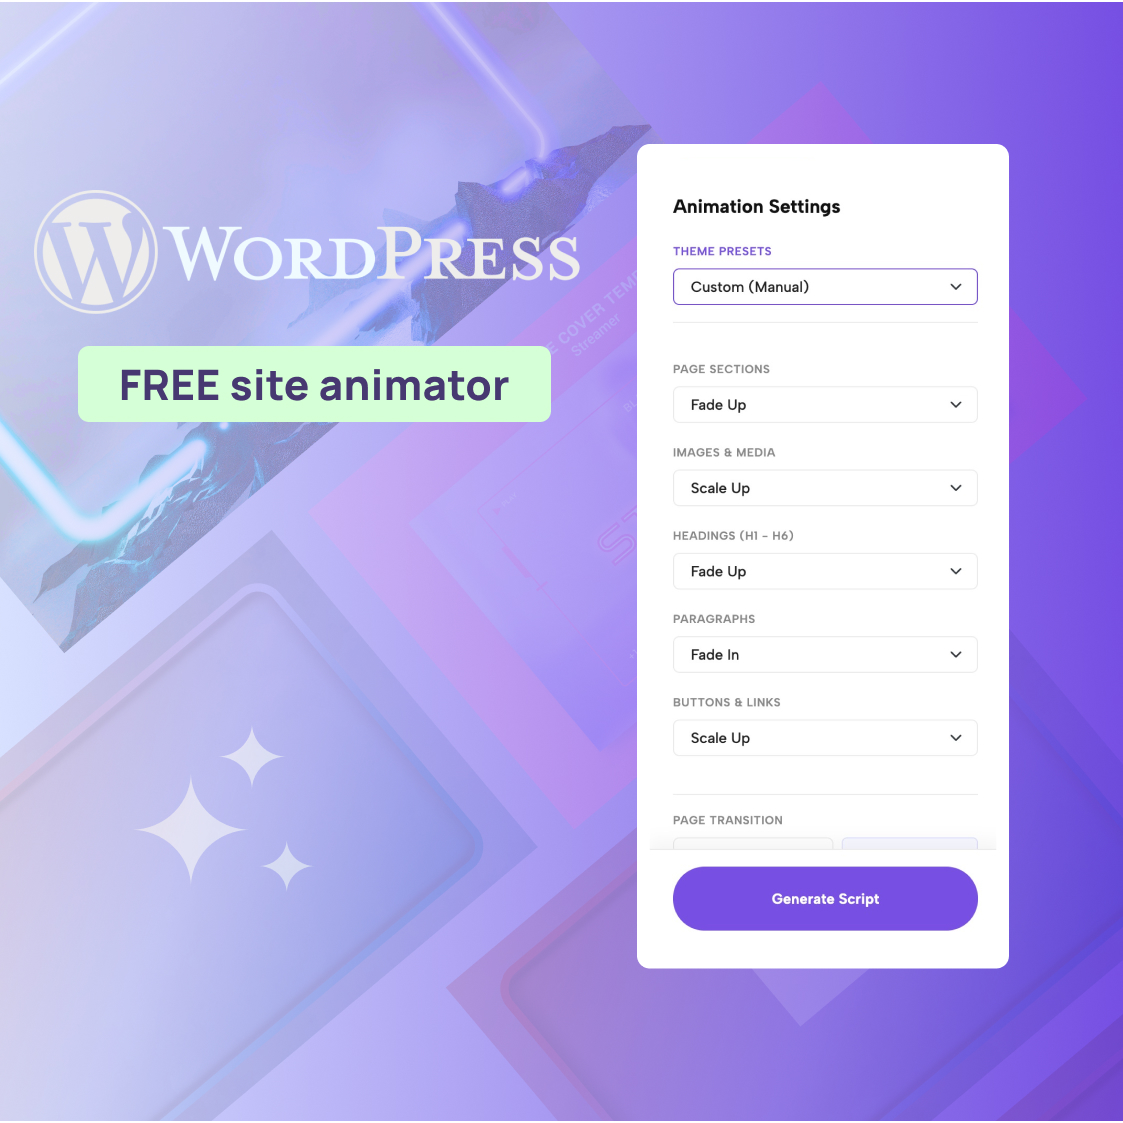
- Choose your general settings: Your website will load in a live preview environment. In the Animation Settings panel on the right, you can either select a quick Theme Preset (like Cinematic or Minimal & Clean) or assign specific effects to overarching element groups, such as giving all images a "Scale Up" effect and all headings a "Fade Up" effect.
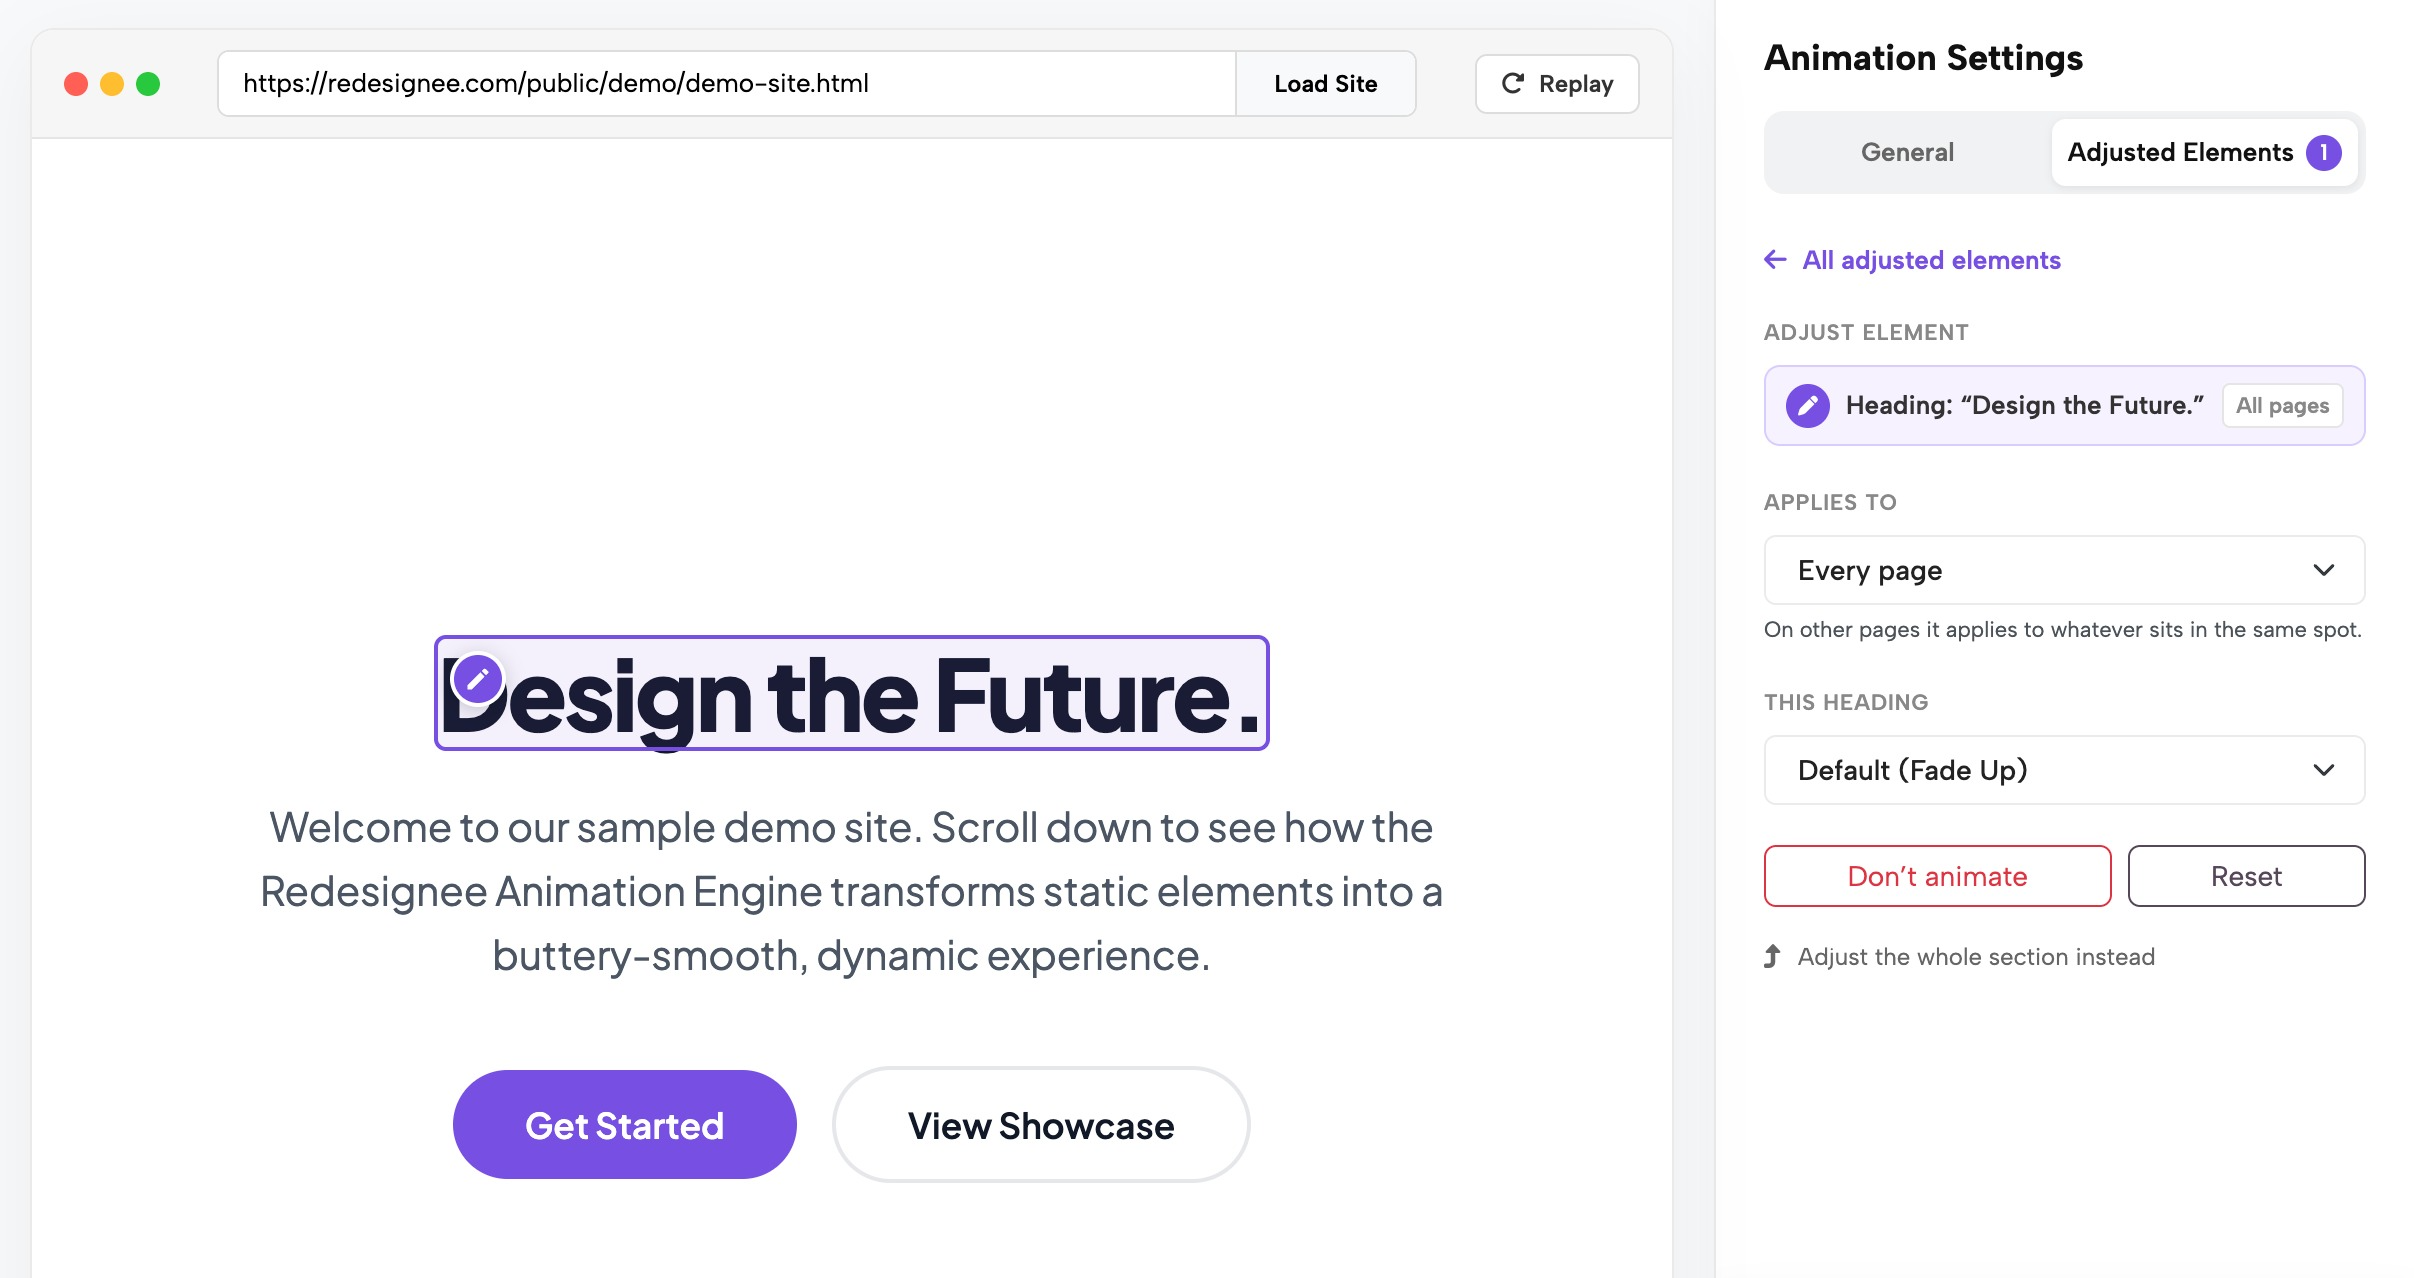
- Adjust single elements: If you spot a specific button or photo in the preview that you want to exclude or change, just hover over it. Click the pencil icon to open the Adjust Element panel, where you can turn its animation off or apply a unique effect just for that item.
- Copy your script: Once you are satisfied with the preview, click Generate Script to get your custom code snippet.
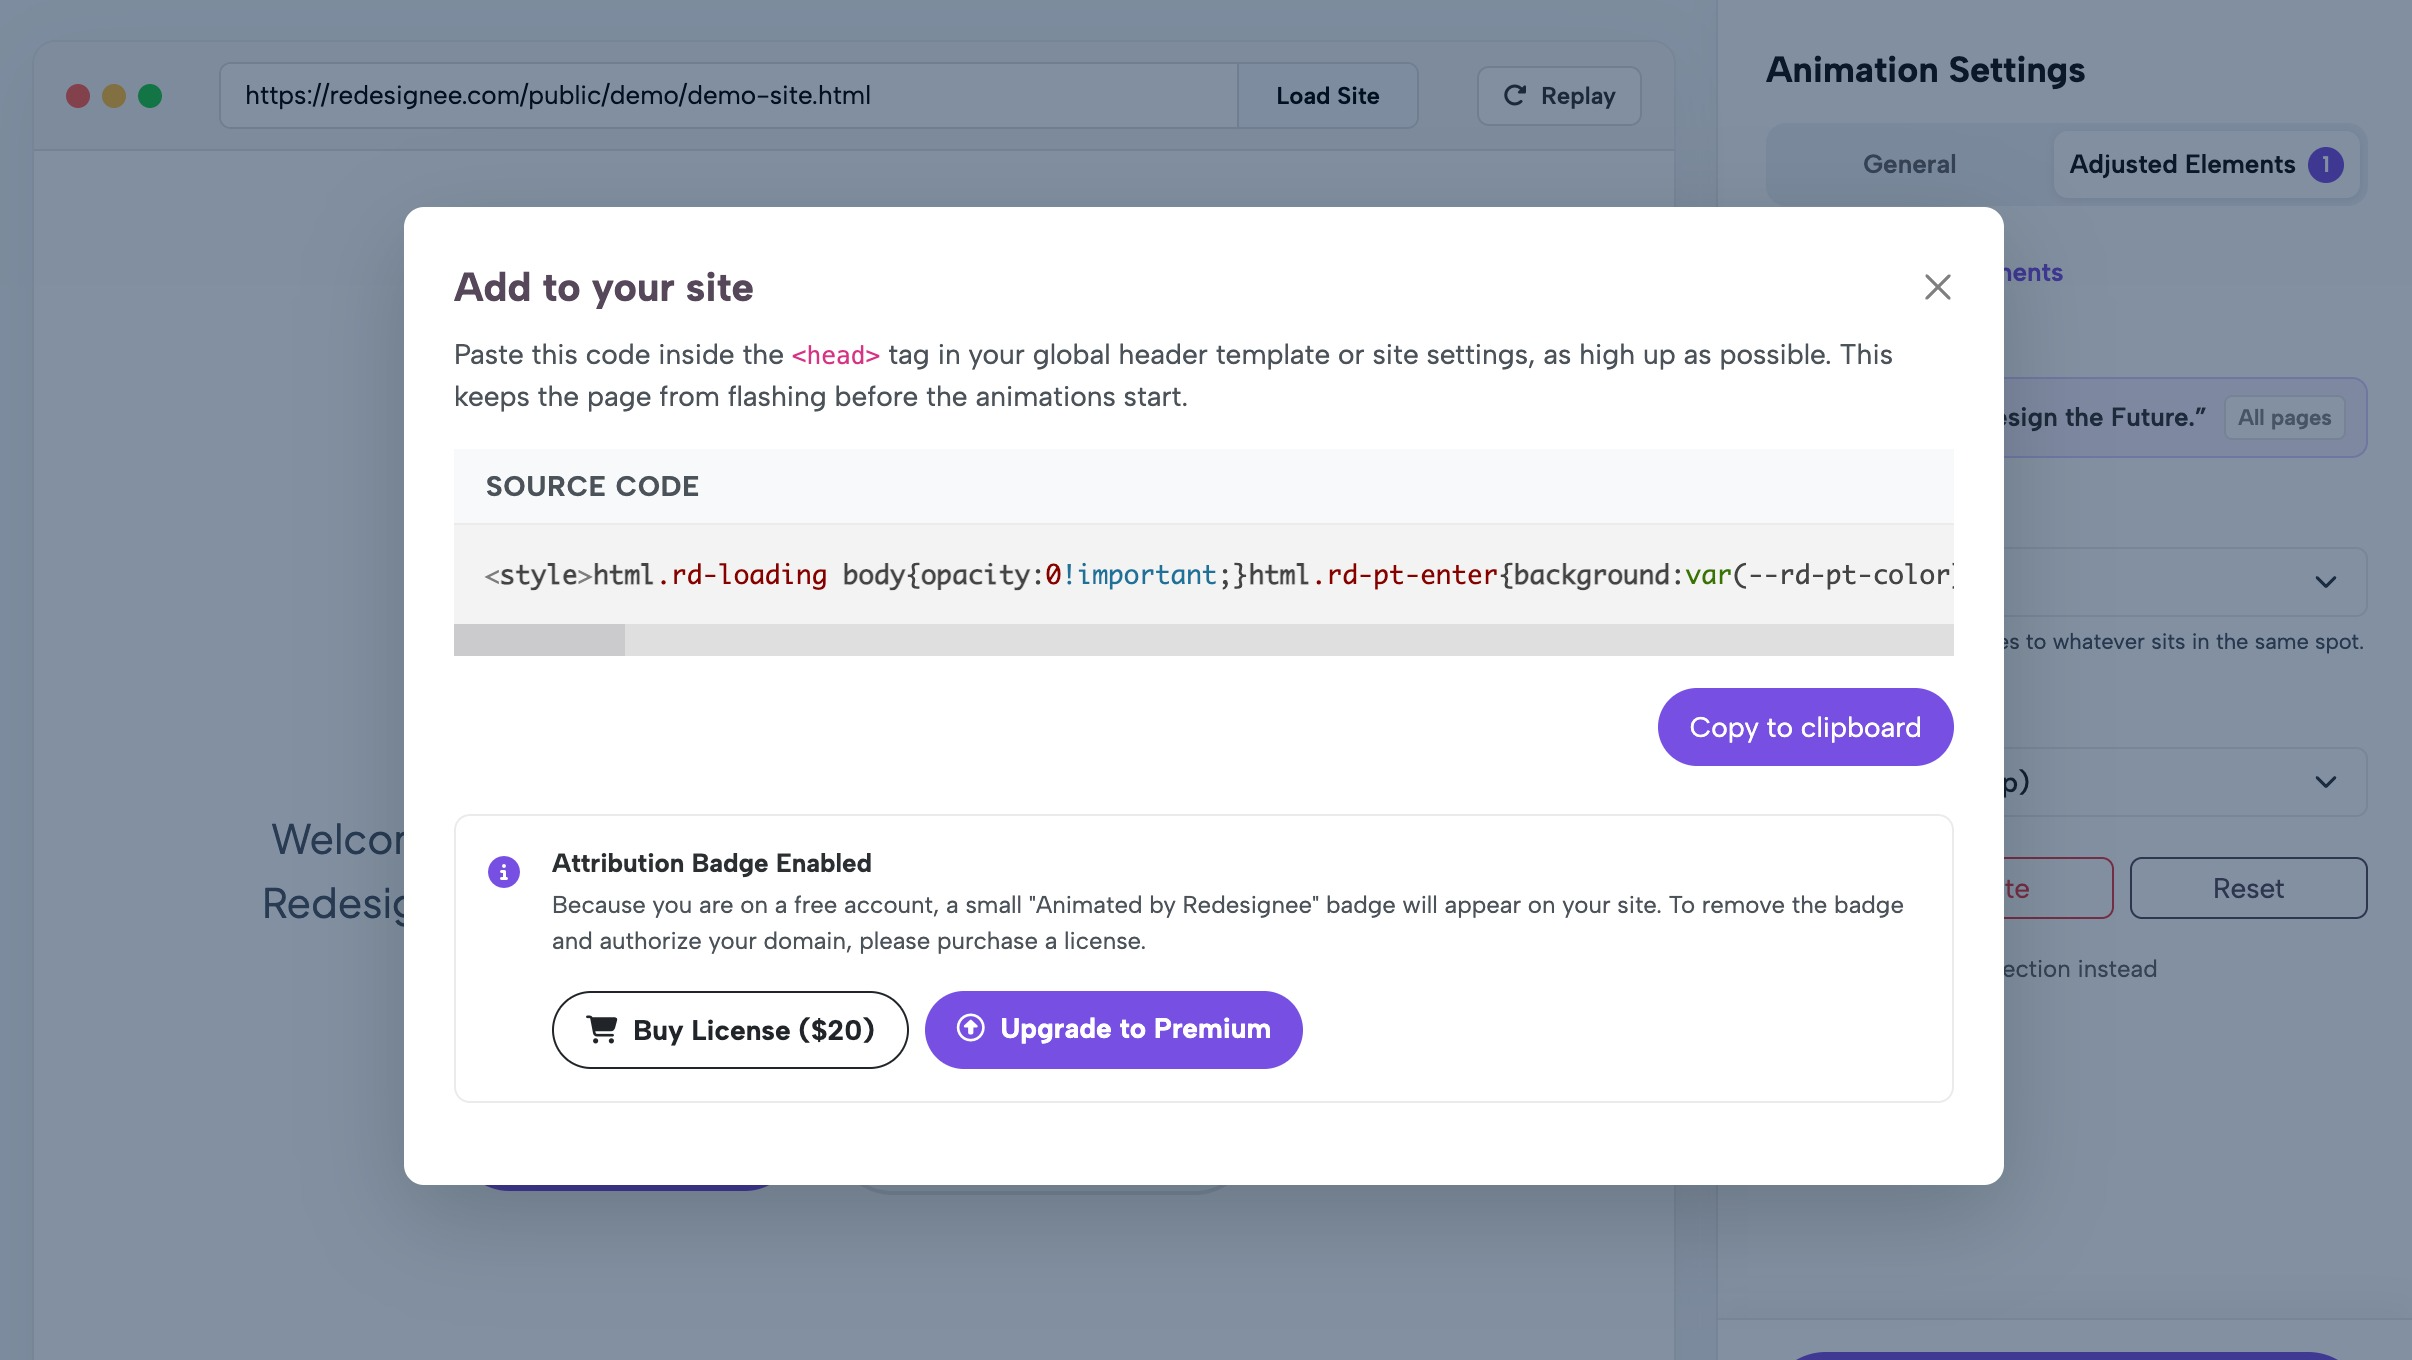
Your unique snippet will look similar to this:
<style>html.rd-loading body{opacity:0!important;}</style> <script>window.rdAnimConfig={"sections":"fade-up","images":"scale-up","headings":"fade-up","paragraphs":"fade-in","buttons":"scale-up","stagger":true,"replay":false,"transition":"none","smoothScroll":true}; /* … */</script> <script src="https://redesignee.com/api/animator/engine?u=YOUR_ID" defer></script>
Where to paste the code in Webflow
To apply the effects across your entire project, you will need to place this code in your site's <head>. This ensures the script triggers before the page visually renders.
- Open your Webflow project dashboard (not the Designer).
- Go to Site settings → Custom code.
- Find the Head code section.
- Paste your snippet at the very top of this field.
- Click Save and then publish your site.
Requirements: Webflow can only allow site-wide custom code if you have an active paid Webflow site plan.
Gotchas to watch out for: Custom code does not execute inside the Webflow Designer. To preview your animations, you must publish the site and view it on your live domain. Also, be aware of conflicts: if you already have Webflow Interactions applied to certain elements (like a fade-in trigger), using the animator on those same elements will cause them to conflict or double-animate. Use one or the other per element!
For more platform-specific details, check out the installation guide.
Which effects to choose
The animator offers a wide variety of motions, and picking the right one depends heavily on your brand's layout. You can learn more about the specifics of each setting in the effects documentation.
- For corporate and B2B sites: Subtle is always better. Applying "Fade In" to paragraphs and "Fade Up" to sections ensures the site feels modern but remains highly readable and professional.
- For creative agencies and portfolios: You can use more expressive motions. "Curtain Reveal" works beautifully on large showcase images, while "Word Cascade" adds a highly customized, cinematic feel to your H1 and H2 typography.
You can also enable global page-level options. Smooth Scrolling overrides the default jagged mouse-wheel behavior with a soft, inertia-based scroll. Turning on Enable Staggering forces elements grouped together to appear in a sequential 80 ms chain. You can even configure a custom Page Transition (like a color Fade or Wipe) that triggers when users click internal links to navigate your site.
Keep specific elements still
There will always be elements you want to exclude from site-wide animations, such as a sticky navigation bar, a legal footer, or a critical conversion form.
You can manage this directly in the animator's live preview. Just click the pencil icon on the element you want to exclude to open the Adjust Element panel, and change the animation style to None. If you change your mind later, clicking Reset restores it to the default group behavior.
One important rule: if you have a button or an image inside a section, and that section is set to animate, the button will still move along with its parent section even if you set the button itself to None. To keep a specific block of content completely static, adjust the parent section itself. Read more about adjusting single elements here.
Performance, accessibility and SEO
Adding animations shouldn't harm your site's core metrics. The Redesignee animator is engineered to protect your speed, accessibility, and SEO rankings.
- Performance: The script is a single JavaScript file of about 8 KB compressed. It contains no heavy dependencies (no jQuery, no GSAP) and loads with defer, so it doesn’t block your page from loading. Your page is kept hidden for a moment while animations are set up, and is always shown within 3 seconds. The tool briefly hides the page to prevent content flashing while animations prepare, but it guarantees the page will be shown within 3 seconds even if a network error blocks the script. Read more about performance here.
- Accessibility: The engine automatically detects the prefers-reduced-motion setting on your visitor's operating system. If they have requested less motion, heavy effects like smooth scrolling, parallax, and page transitions are automatically disabled, replaced by short, simple fades. Read more about accessibility here.
- SEO and Privacy: Search engines can read your site perfectly. The animator dynamically targets HTML elements on the fly, meaning your content stays firmly in the page's HTML for Google and AI crawlers to parse. Furthermore, the script does not use cookies or track any visitor data.
Troubleshooting
If your animations aren't firing properly after publishing, check these common issues. You can find a deeper dive in the troubleshooting guide.
- Nothing animates: Ensure you are viewing the published, live site (not the Webflow Designer). Check that your Webflow account has a paid site plan that allows custom head code.
- Elements animate twice or look broken: You likely have Webflow Interactions applied to the same elements the script is trying to animate. Remove the Webflow Interaction or set the element to None in the Redesignee animator.
- Content flashes, then jumps: Make sure you pasted the code in the Head code section of your Site settings, not the Footer code section. It needs to load as early as possible.
- The Redesignee badge is still showing after buying: If you purchased a premium license, log into your Redesignee account settings and add your Webflow domain to your whitelisted domains. Generate a new script and replace the old one in your Webflow settings.
FAQ
How much does the animator cost?
The basic animator is free, offering full access to all settings, the preview environment, and the export script. The free tier places a small "Animated by Redesignee" badge on your site. To remove the badge for a single domain, a license is a one-time $20 fee. There are also Premium Starter ($49/year) and Premium Agency ($199/year) plans, which remove the badge and grant full access to over 750 Redesignee widgets.
Will this slow down my Webflow site?
No. The engine is roughly 8 KB compressed and loads with a defer attribute, ensuring it doesn't block your site from loading. A 3-second failsafe is also hardcoded in, so your content will always appear quickly even on poor connections.
Does it work on mobile?
Yes. The animations are responsive and trigger automatically as elements scroll into the mobile viewport, offering a smooth experience on phones and tablets.
Can I remove it later?
Yes. The animator never alters your actual Webflow structure or content. To remove the animations, simply delete the snippet from your Webflow Site settings, publish, and your site will revert to normal instantly.
Does it work alongside Webflow Interactions?
It can, but not on the exact same elements. If an element has a native Webflow scroll interaction applied to it, the Redesignee script will conflict with it. You should use one or the other per element.
Start animating your Webflow site
Ready to bring your site to life? Try it free at redesignee.com/animator.
Comments (0)